Let’s be honest – there’s nothing worse than finding out your website has been down for hours because a customer sent you an angry email. I learned this the hard way a few years back when my site went offline during a weekend, and I didn’t realize it until Monday morning. The embarrassment alone was enough to make me never want to experience that again.
The good news? Setting up your first website monitor is incredibly simple, and you can have it running in less time than it takes to make a cup of coffee. If you’ve been putting this off because you think it’s complicated or requires technical skills, I’m going to show you exactly how straightforward it actually is.
Why You Need Website Monitoring (Even If You Think You Don’t)
Before we dive into the setup process, let’s address a common misconception: website monitoring isn’t just for large enterprises with complex infrastructure. Whether you run a small business website, a blog, an online store, or anything in between, downtime costs you money and credibility.
Think about it this way – every minute your site is down, potential customers are bouncing to your competitors. Google also penalizes sites with frequent downtime in search rankings. Even a few hours of downtime per month can add up to thousands in lost revenue, depending on your business. If you’re not sure what the real impact looks like, the true cost of downtime might surprise you.
The reality is that websites go down more often than you’d think. Server issues, hosting problems, plugin conflicts, expired SSL certificates, DNS issues – the list goes on. And unless you’re manually checking your site every few minutes (which isn’t realistic), you need an automated solution.
What You’ll Need to Get Started
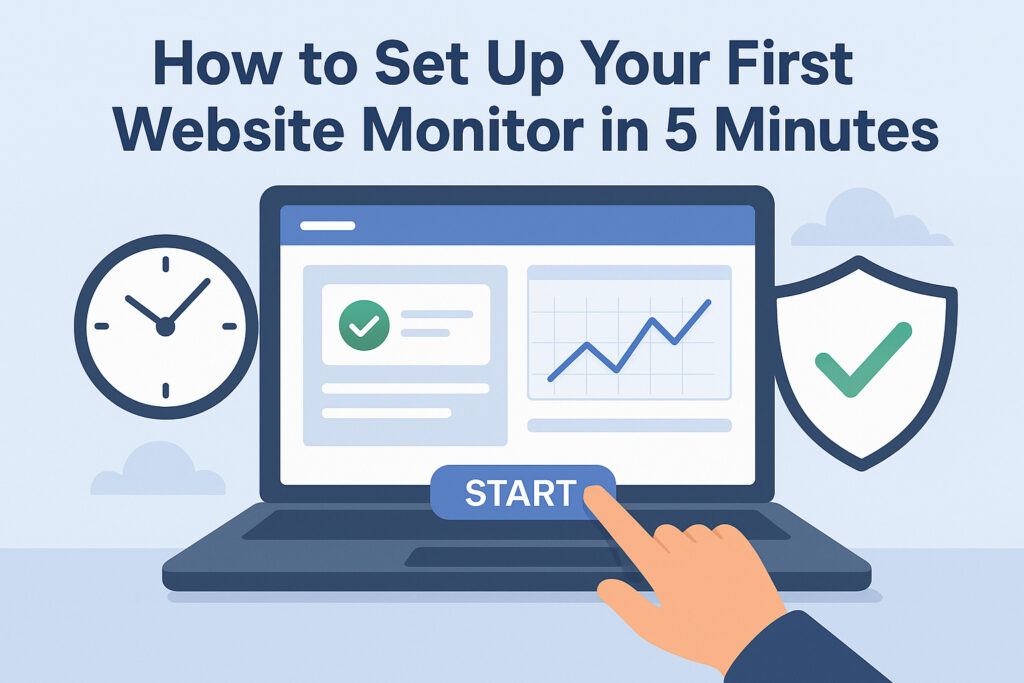
Here’s the beauty of modern website monitoring – you don’t need much at all. You’ll need your website URL (obviously), an email address where you want to receive alerts, and about five minutes of your time. That’s it. No technical knowledge required, no complicated setup procedures, and no expensive equipment.
Step-by-Step: Set Up Your First Website Monitor
Step 1: Choose Your Monitoring Service
First, you need to pick a monitoring service. Look for one that offers simple setup, reliable alerts, and doesn’t require you to install anything on your server. Services like UptimeVigil are specifically designed for ease of use – you can literally start monitoring in under a minute.
Step 2: Enter Your Website URL
Once you’ve chosen your service, simply enter the URL you want to monitor. This is straightforward – just copy and paste your website address. Most services will automatically detect whether you’re using HTTP or HTTPS and adjust accordingly.
One thing I wish I’d known earlier: you can monitor specific pages, not just your homepage. If you have a critical checkout page or login portal, monitor those separately. I once had a situation where my homepage was working fine, but my contact form page was broken – monitoring only the homepage meant I missed that issue for days.
Step 3: Configure Your Check Frequency
Decide how often you want your site checked. Most services offer checks every 1, 5, or 15 minutes. For most websites, checking every 5 minutes is perfect – it catches problems quickly without being excessive. High-traffic e-commerce sites might want every-minute checks, while a simple blog could be fine with 15-minute intervals. Not sure what’s right for you? Here’s a deeper look at how often you should check your website’s status.
Step 4: Set Up Your Alert Method
Here’s where you decide how you want to be notified when something goes wrong. Email is the standard option and works great for most people. Make sure to use an email address you actually check regularly – there’s no point in getting alerts if you won’t see them until next week.
Some services also offer SMS alerts, Slack notifications, or webhook integrations. If your site is mission-critical, consider setting up multiple notification channels so you don’t miss anything. Getting the balance right between staying informed and drowning in notifications is key – learn more about setting up smart alerts that don’t overwhelm you.
Step 5: Activate Monitoring
Hit the activate button, and you’re done. Seriously, that’s it. Your website is now being monitored 24/7, and you’ll receive immediate downtime alerts if anything goes wrong.
What Happens When Your Site Goes Down?
When your monitoring service detects that your site is unreachable, you’ll get an instant notification. Most services will automatically recheck within a minute or two to avoid false alarms (sometimes a site might have a momentary blip). If the problem persists, you’ll know immediately and can start troubleshooting.
The alert will typically include information about what went wrong – whether the site is completely unreachable, returning an error code, or experiencing slow response times. This information is incredibly valuable for quickly diagnosing and fixing the issue.
Common Questions About Website Monitoring
Will monitoring slow down my website?
No. Monitoring services send lightweight requests to your site, similar to a regular visitor loading your page. The impact is negligible – we’re talking about one extra “visitor” every few minutes.
What if I get too many false alarms?
Quality monitoring services include verification checks to prevent false positives. If you’re getting frequent false alarms, you might need to adjust your sensitivity settings or check if there’s an actual intermittent problem with your hosting.
Can I monitor multiple websites?
Absolutely. Most services let you monitor multiple sites from one account, which is perfect if you manage several websites or client sites.
One Final Tip
Once you’ve set up monitoring, don’t just forget about it. Check your monitoring dashboard occasionally to review your uptime statistics and response time trends. This data can be valuable when evaluating your hosting provider or when you need to provide uptime reports to clients or stakeholders.
Website monitoring isn’t about being paranoid – it’s about being proactive. Those five minutes you spend setting it up today could save you from hours of stress and lost revenue tomorrow. Trust me, your future self will thank you the first time you catch a problem before your customers do.