If you run any website or online service that customers depend on, creating a status page is one of the smartest moves you can make. A status page gives your users a single, honest place to check whether your service is up, degraded, or down — and that transparency directly builds trust. Most site owners obsess over preventing downtime but completely ignore what happens when it inevitably occurs. That’s the gap a status page fills.
I learned this the hard way years ago. We had a 40-minute outage on a Saturday morning — not catastrophic, but enough to flood our support inbox with ”is it just me?” emails. Every engineer was troubleshooting the actual problem while someone else was copy-pasting the same reply to dozens of tickets. A status page would have eliminated that noise entirely.
What a Status Page Actually Does
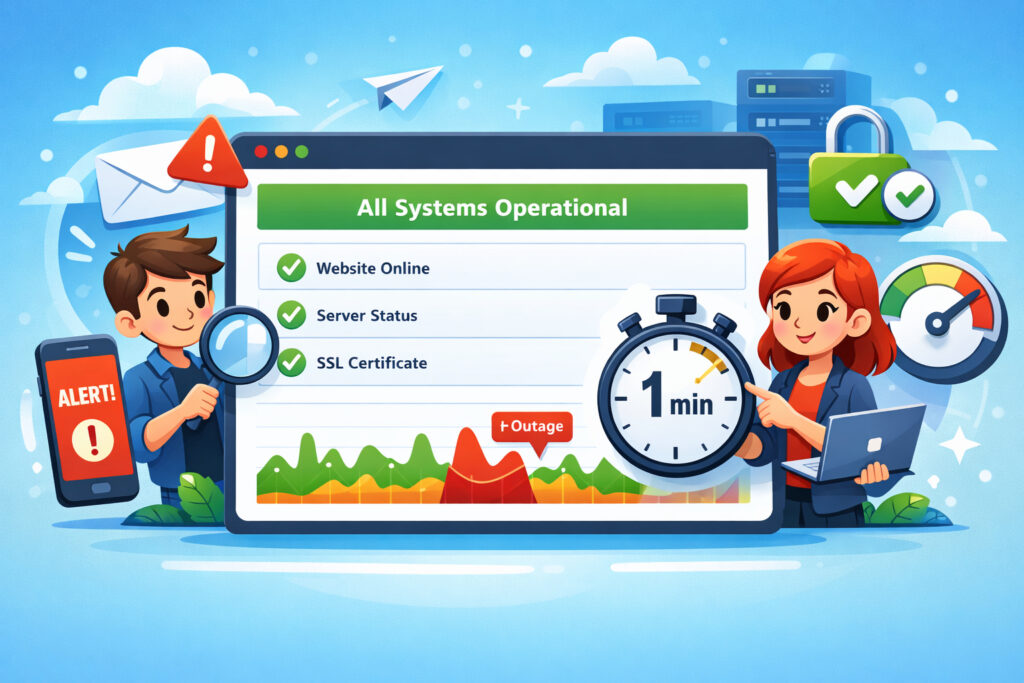
A status page is a dedicated, publicly accessible page that displays the real-time operational state of your services. At minimum, it shows whether key components — your website, API, database, payment processing — are operational, experiencing issues, or fully down.
Good status pages go further. They show historical uptime data, ongoing incident updates, and scheduled maintenance windows. The point isn’t just to broadcast problems — it’s to give users confidence that you’re aware, working on it, and communicating openly.
Here’s what most people get wrong: a status page isn’t an admission of weakness. It’s the opposite. Companies that hide their outages look worse when users discover problems on their own. The ones that communicate openly earn loyalty.
What to Include on Your Status Page
Start simple. You don’t need to expose every internal microservice. Think about what your customers actually care about:
Core components: Website availability, login/authentication, API endpoints, payment processing, email delivery — whatever your users interact with directly.
Current status indicator: A clear, color-coded signal for each component. Green for operational, yellow for degraded, red for major outage. Keep it obvious at a glance.
Incident history: A running log of past incidents with timestamps, descriptions, and resolution notes. This is where trust really accumulates over time. Users can see your track record.
Scheduled maintenance: Announce planned downtime in advance. Nothing frustrates users more than an unannounced maintenance window during their workday.
Uptime percentage: Showing your 30-day or 90-day uptime builds credibility — especially if you’re hitting numbers like 99.95%. If you’re not sure what these numbers really mean in practice, it’s worth understanding why 99.9% uptime isn’t as good as it sounds.
How to Create a Status Page Step by Step
Step 1: Define your monitored components. List every user-facing service. Group them logically — ”Website,” ”API,” ”Billing,” etc. Don’t over-segment; five to eight components is usually enough.
Step 2: Set up monitoring behind it. A status page without real monitoring is just a green dashboard that lies. You need actual uptime checks running continuously. UptimeVigil checks your site every minute and sends immediate alerts when something breaks — that’s the kind of data feed your status page needs to stay honest.
Step 3: Choose your platform. You can build a custom page, use a hosted status page service, or integrate with your monitoring provider. The important thing is that updates happen fast — ideally automated when an alert fires.
Step 4: Write your incident communication templates. During an outage, you don’t want to wordsmith from scratch. Prepare templates for ”investigating,” ”identified,” ”monitoring,” and ”resolved” states. This ties directly into having a solid incident response plan.
Step 5: Publish and link it prominently. Put it in your footer, your help center, and your app’s navigation. A status page nobody can find defeats the purpose.
The Myth of ”Never Show Weakness”
There’s a persistent belief — especially among smaller businesses — that admitting to any downtime will scare customers away. The reality is the exact opposite. Users already know when your site is down. They’re refreshing the page, checking Twitter, emailing support. Silence doesn’t hide the problem; it amplifies frustration.
The companies that lose trust are the ones that go dark during incidents. The ones that gain trust post clear, timely updates: ”We’ve identified a database issue affecting login. Our team is working on it. Next update in 15 minutes.” That’s it. Simple, honest, on schedule.
Research consistently shows that how you handle downtime matters more than the downtime itself. Understanding how to communicate downtime to your customers is half the battle.
Keeping Your Status Page Honest
The worst status pages are the ones that always show green. If your monitoring detects an outage and your status page still says ”All Systems Operational,” you’ve destroyed the page’s credibility permanently.
Automate where possible. When your monitoring — whether it’s UptimeVigil or another tool — detects a failure, the status page should reflect it within minutes. Manual updates are fine for incident details and resolution notes, but the initial status change should be fast.
Track your response times too. If your server response time spikes from 200ms to 3 seconds, that’s a degraded state even if technically ”up.” Knowing your response time benchmarks helps you set meaningful thresholds for when to flag degradation.
Review your status page quarterly. Are the components still relevant? Are you actually updating it during incidents? A neglected status page is worse than no status page.
FAQ
Do I need a status page if my site rarely goes down?
Yes. Even sites with excellent uptime benefit from a status page. It provides proof of reliability — your 99.99% uptime means more when users can verify it themselves. It also prepares you for the day something does go wrong, because you’ll already have the communication channel in place.
Should my status page be hosted on the same server as my main site?
No — this is a critical mistake. If your server goes down, your status page goes down with it. Host your status page on a separate infrastructure, ideally a different provider entirely. That way it stays accessible exactly when users need it most.
How quickly should I update the status page during an incident?
Post an initial acknowledgment within five minutes of detection. After that, update every 15–30 minutes until the issue is resolved, even if the update is just ”still investigating.” Silence between updates is what erodes trust. Setting up smart alerts ensures your team knows about problems fast enough to keep that timeline.
A status page isn’t a marketing exercise — it’s an operational tool that happens to build enormous goodwill. Start with the basics, keep it honest, and update it consistently. Your users will notice, and more importantly, they’ll stick around when things go sideways.